We mostly connect Android device to computers with a USB cable for debugging purposes. It is better to use adb over a wifi connection than a USB to save some wire-related hassles in our lives and many a times device is disconnected when we debug the app.
There is a simple way to connect Android devices to our computer. You will be needing a USB cable (for the initial setup) and make sure that both the devices should be on the same network. For connecting Android devices to your computer, follow the below steps.
Step 1 Connect your device on the same Wifi network:
You need to connect your device to your computer via USB cable. Make sure that the USB debugging is working; also your adb host computer and Android device must be on the same Wifi network.
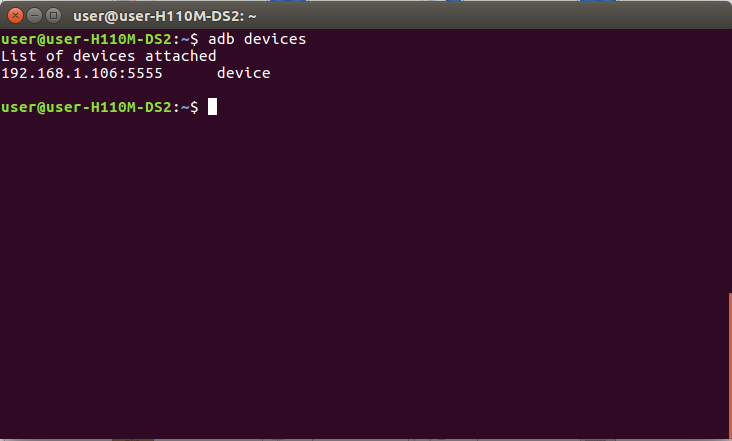
Step 2 Get the list of connected devices :
Connect the Android device to the computer using your USB cable. After doing this, your device will be detected by your host computer. Also, adb will start running in the USB mode on the computer. You can check the attached devices with the command: adb devices and make sure that the adb is running in the USB mode by executing the command: adb usb. You can write command in terminal or cmd.
You can get the connected list of devices using the below command.
$ adb devices
List of devices attached
ZX1D63HX9R device
Step 3 Restart TCP Mode:
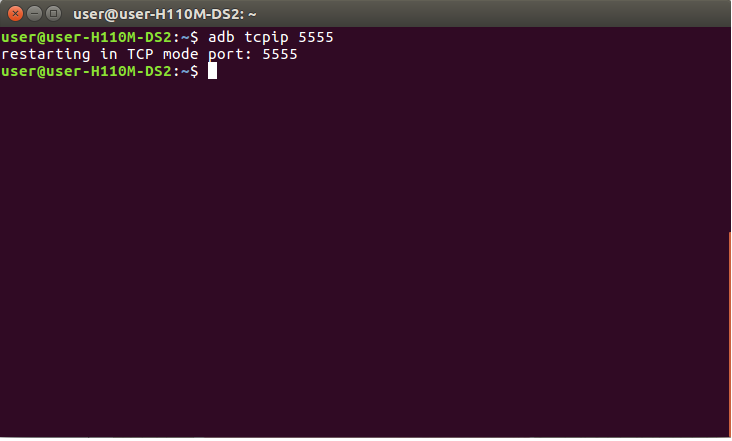
Write the below command to restart adb in tcpip mode.
$ adb tcpip 5555
restarting in TCP mode port: 5555
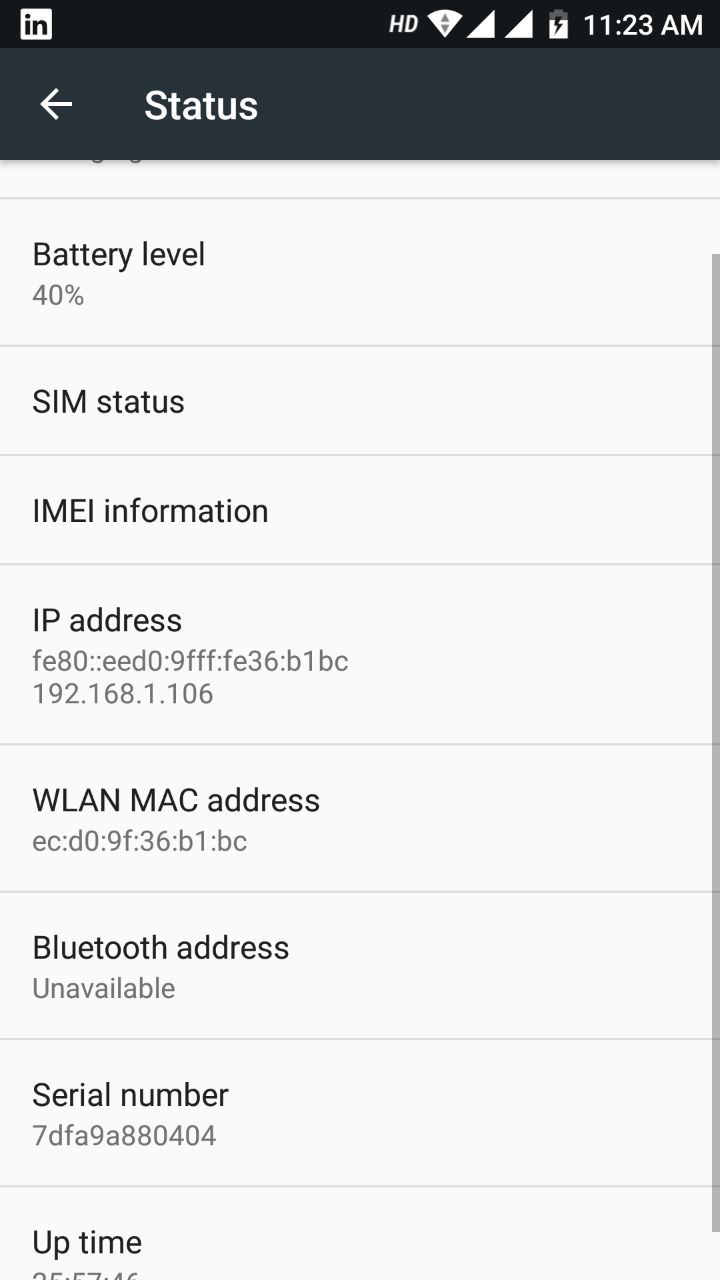
Step 4 Find IP address from mobile device:
Find out the IP address of the Android device:
Go to phone Settings -> About phone/tablet -> Status -> IP address
Step 5 Connect device to Computer:
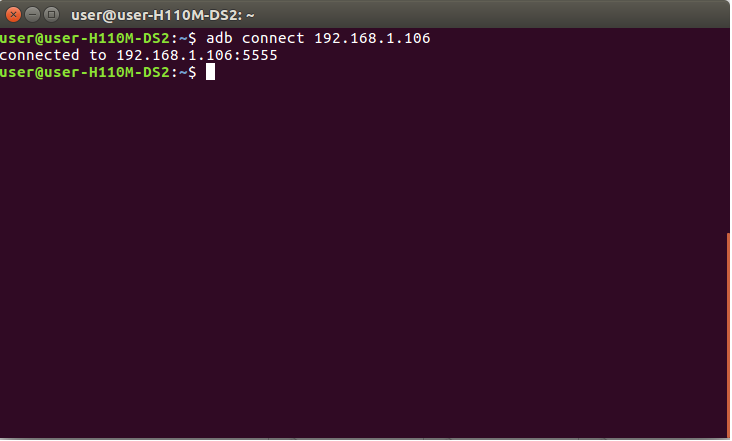
Now you are aware about the IP address of your device; connect your adb host to it. You can connect your device using the below command.
$ adb connect 192.168.0.102
connected to 192.168.0.102:5555
Step 6 Re-connecting the device to your computer:
Remove the USB cable and you will be connected to your device. Now check whether the device is connected or not through this command: adb devices; if you do not see your device connected, then just reconnect it using the previous step’s command.
Now your device is successfully connected to your computer. Hence, you can debug the app in your connected device.
Step 7 Disconnecting the device to your computer:
For disconnecting the connected device, write the below command:
$ adb disconnect 192.168.0.102
Conclusion :
On continuous usage of connecting your Android phone to the computer system using USB cable, there are chances of damaging the phone battery as well as the USB cable due to continuous charging of battery while the cable is attached. Also, it will be quite difficult for us to use our phone for debugging various apps especially the sensor based apps when the mobile is connected with the USB.
So debugging apps over wifi is very useful. It saves the batteries and cables; also makes debugging the sensor based apps easier. Hence, just follow the above steps and debug your Android apps over Wifi.
References :
1) http://developer.android.com/tools/help/adb.html#wireless


